
Top 4 Android System Repair Software for Motorola Moto E13 Bricked Devices | Dr.fone
Top 4 Android System Repair Software for Motorola Moto E13 Bricked Devices
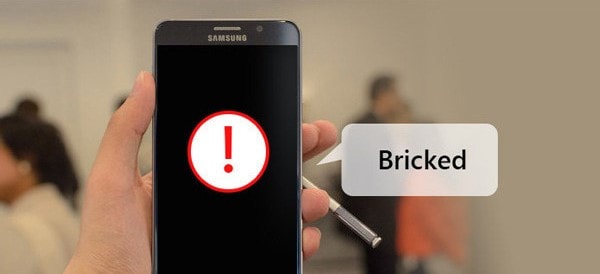
Is your Motorola Moto E13 device showing signs of being “bricked” or “soft-bricked”? When a Motorola Moto E13 is bricked, it becomes unresponsive and unusable. But fear not, as this article will guide you through reviving your device’s functionality. It will delve into the significance of unbricking and how it restores usability.
Moreover, this article will introduce you to the world of Motorola Moto E13 unbrick tools and software, ensuring you can get your device back on track. So read on and explore the top Android system repair software that can bring life back to your bricked Motorola Moto E13 device.
Part 1: Understanding Bricked Motorola Moto E13
Have you ever heard the term “bricked” concerning your Motorola Moto E13 device? This section explains it to you in simple terms. Imagine your device becoming like a brick, unresponsive and seemingly lifeless. That’s what happens when a Motorola Moto E13 gets bricked. There are two main types of brick: soft brick and hard brick.
Soft Brick
Soft brick is like a temporary setback for your device. To see if your Motorola Moto E13 is soft - bricked, check out the details below:
- It happens when the software encounters issues, but the hardware is usually fine.
- Your device might not start properly, freeze, or get stuck on the logo screen.
Hard Brick
Now, this is a more severe situation. In this case, your bricked Motorola Moto E13 might fall under the following conditions:
- Thesoftware and hardware have significant problems, making the Motorola Moto E13 device unresponsive.
- Your device won’t turn on and might not show any signs of life.
Common Causes of a Brick Motorola Moto E13
Now, let’s discuss why devices end up in this bricked state. It can happen due to a few common reasons:
- Failed Updates
Something might go wrong during the process when you’re trying to update your Motorola Moto E13 device. This is properly because of a poor internet connection or other interruptions. As a result, your device might get confused and end up bricked.
- Custom ROM Installations
A custom ROM is like a customized version of your device’s software. While it can bring cool new features, it can also cause issues if not installed correctly. Incompatible or poorly made custom ROMs can sometimes lead to a bricked device.
- Unauthorized Modifications
If you’re trying to tweak your device’s software without proper knowledge, you might make changes that the Motorola Moto E13 device can’t handle. This can lead to instability and, you guessed it, a bricked device.
So, why is it important to know all this? Well, a bricked device isn’t just frustrating; it can disrupt your daily life. You won’t be able to use your device, access your apps, or even make calls. That’s why unbricking is crucial.
Part 2: Top Android System Repair Software
Now that you’ve grasped the concept, let’s dive into how to unbrick a Motorola Moto E13. That’s where Android system repair software comes in. These clever programs are like doctors for your device’s software. They diagnose and fix issues to keep your appliance running smoothly. Let’s explore the cream of the crop when it comes to these software solutions:
Wondershare Dr.Fone – System Repair (Android)
Dr.Fone - System Repair (Android) is like a magic wand for your Motorola Moto E13 device. It’s designed to rescue your device from troubles and make it run smoothly again. Dr.Fone - System Repair (Android) is built to fix various issues, including a bricked device. It can resolve problems like black screens, frozen devices, boot loops, and even devices stuck in recovery mode.
![]()
Dr.Fone - System Repair (Android)
Repair Android System Errors without Any Trouble.
- Fix your Android to normal, no skills required.
- Fix various Android system issues, stuck in boot loop , black screen , or won’t turn on , looping on start, etc.
- The high success rate in resolving Android system issues.
- Compatible with a wide range of Android devices and OS versions
- User-friendly interface with easy-to-follow steps.
3981454 people have downloaded it

Key Features
Here’s what Dr.Fone offers as a powerful Android system repair software:
- Repair a wide variety of Android system issues.
- User-friendly interface that’s easy to navigate.
- No technical expertise required – it guides you step by step.
- Compatibility with a wide range of Motorola Moto E13 devices.
Pros
Check out Dr. Fone’s benefits you can take advantage of:
- Easy and intuitive to use.
- Can fix a range of software-related problems.
- Doesn’t require deep technical knowledge.
- Can help you avoid expensive repair services
Cons
As for its drawback, refer below:
- Some complex issues might still require professional help.
How To Unbrick Motorola Moto E13 Using Dr.Fone
This tutorial will show you how Dr.Fone can remove the brick from a Motorola Moto E13 smartphone.
- Step 1: Launch Dr.Fone and head to the program’s left-hand panel, where you’ll find the Toolbox. You may fix your broken Android device by connecting it to your computer and selecting System Repair from the menu.

 safe & secure
4,001,177 people have downloaded it
- Step 2: Select Android on the following screen to troubleshoot an Android device. After that, you’ll be brought to a new screen where you can initiate the fix by clicking Start.

- Step 3: When you click through to the next window, the service will automatically recognize the manufacturer of the Android device. Choose the appropriate Brand, Name, Model, Country, and Carrier from the drop-down menus. Select OPEN in the Carrier area if the phone is unlocked. The next step is to tick the box labeled I accept the risk and am ready to continue. Click Next to proceed with the rest of the Motorola Moto E13 device repair.

Step 4: Put your Motorola Moto E13 into Download Mode when prompted.
If your phone has a home button, follow the on-screen prompts to power it down. Keep pressing and holding the Volume Down, Home, and Power Then, press the Volume Upbutton to activate the Download Mode.

- If your Android doesn’t have a Home button, you may still use it byturning it off and pressing the Volume Down, Bixby, and Power buttons simultaneously. Repeatedly pressing the Volume Up button will activate Download Mode.

- Step 5: The firmware download starts on the platform immediately after the Motorola Moto E13 device enters Download Mode. You can click Stop to abort it at any stage during the process. The platform then verifies and presents the information as it downloads. By selecting Fix Now, you can install the firmware.

- Step 6: The Android repair procedure may delete all of your data. To proceed, please type “000000” in the box provided. The system repair process will begin, and its status can be viewed in the next screen’s progress bar.
Take Note: Backing up your Android is necessary before doing any Android repair.

- Step 7: The prompt window will show the completion message. If the Android device boots normally, you can close the tool by clicking the Done button. Press the Try Again button to try powering on the Motorola Moto E13 device again if it does not turn on automatically.
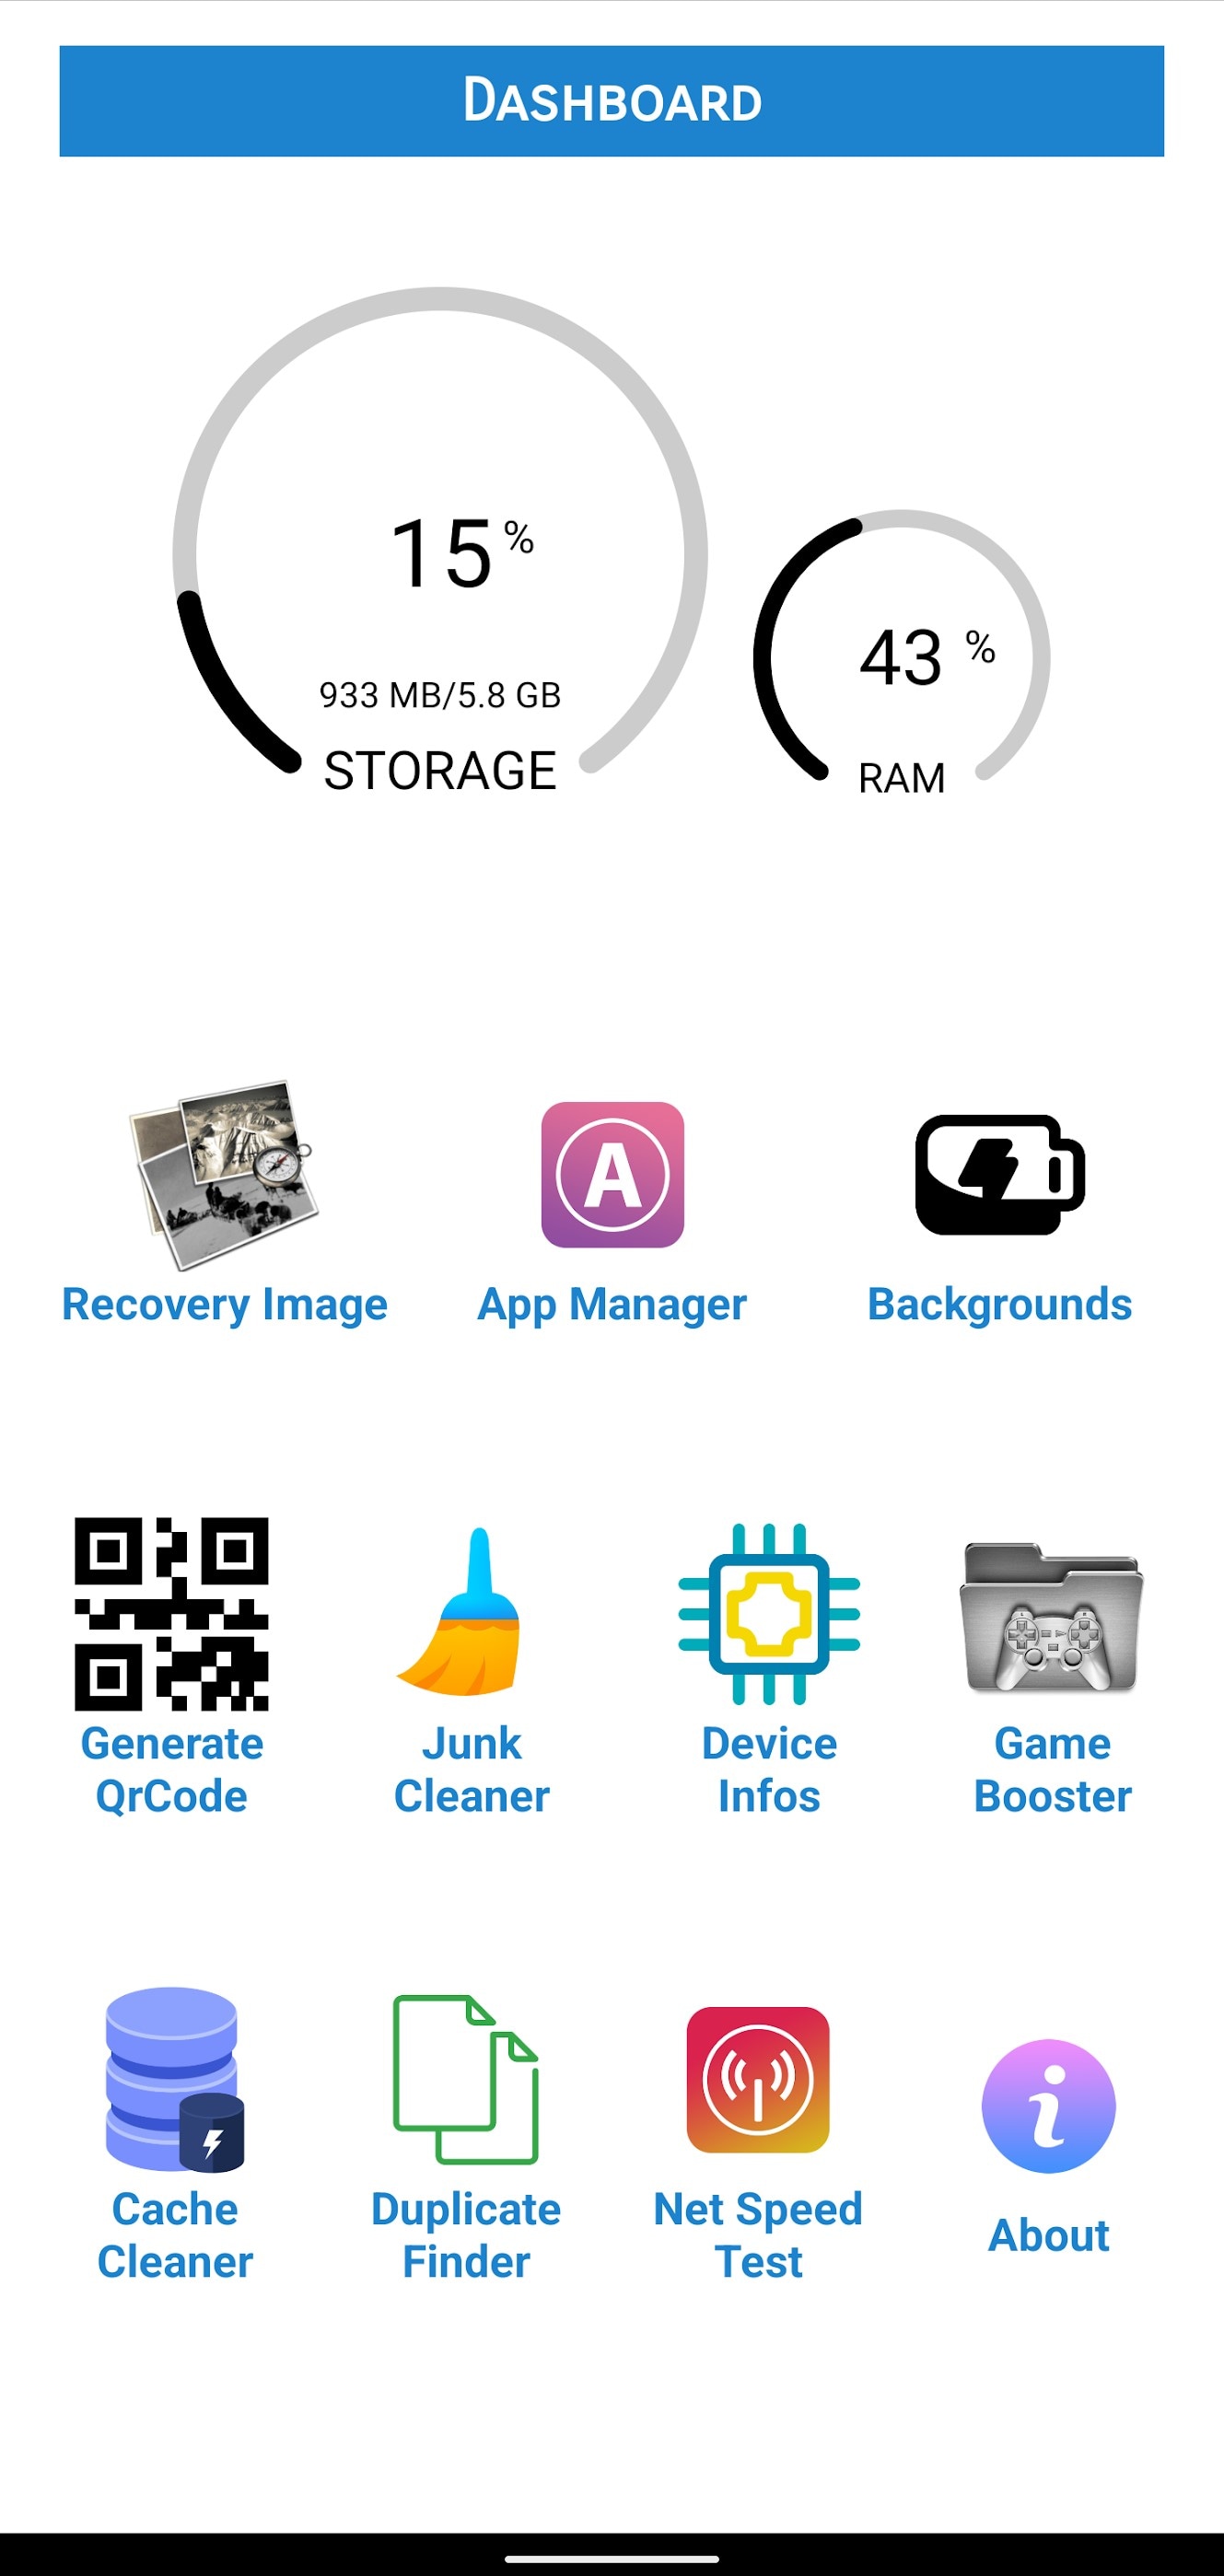
Repair System & Phone Master
This software is a real game-changer in resolving Android system problems. It specializes in repairing system issues, enhancing device performance, and cleaning up unnecessary files.
Key Features
Check out the key features of this software below:
- Repair a range of system issues, including bricking.
- Boost device speed and performance.
- Clean up junk files to free up space.
- The easy-to-use interface is suitable for all users.
Pros
Repair System & Phone Master’s advantages include the following:
- Straightforward operation.
- Focus on improving overall device performance.
- Can potentially extend your device’s lifespan.
Cons
Below is the disadvantage of this software:
- Repair capabilities might be limited for complex issues.
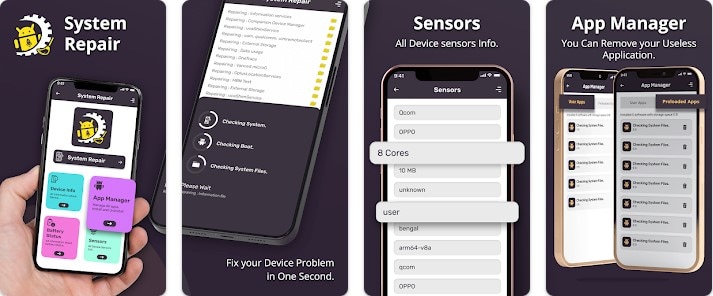
System Repair for Android
True to its name, System Repair for Android is designed to repair and rejuvenate your device’s Android system. It’s a reliable tool to tackle various software issues, including bricked devices.
Key Features
The key features of System Repair for Android app include:
- Repair various Android system problems.
- User-friendly interface for hassle-free operation.
Pros
As for its advantages, see the list below:
- Straightforward solution for commonsystem issues.
- Can save you from device replacement costs.
Cons
Check below to learn about this app’s drawback:
- Advanced issues might require professional intervention.
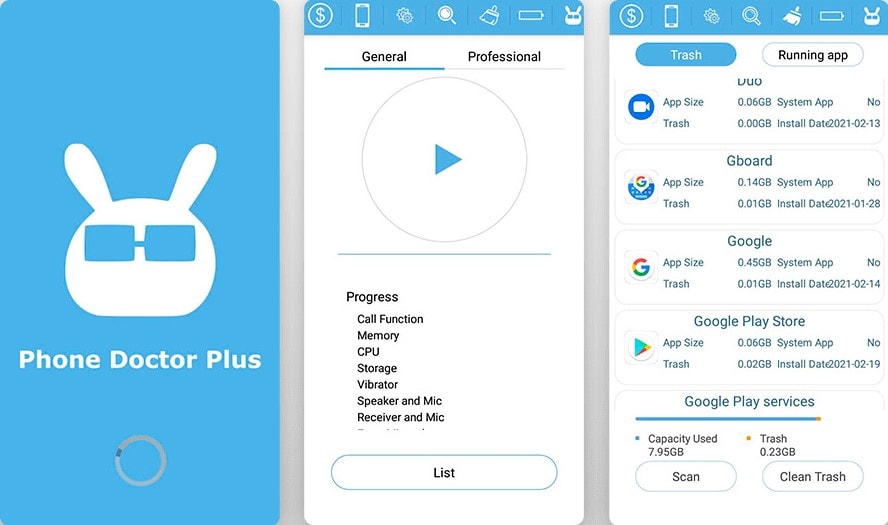
Phone Doctor Plus
Phone Doctor Plus is like a health check-up app for your device. It’s designed to repair system issues and diagnose hardware problems that might contribute to a bricked device.
Key Features
See Phone Doctor Plus’s essential features below:
- Diagnose and repair both software and hardware issues.
- Identify potential problems that could lead to bricking.
Pros
This app’s advantages include the following:
- Comprehensive diagnosis for both software and hardware.
- Can help you identify issues before they become serious.
Cons
Check out this app’s disadvantages below:
- Not solely focused on software repair, might not cover all scenarios.
Part 3: Tips on Preventing Future Bricking Incidents
Now that you know how to fix a bricked Motorola Moto E13 smartphone, let’s focus on preventing it in the first place. Here are some simple steps you can take to keep your Motorola Moto E13 device safe and sound:
- Regularly Check for Updates
Always keep your device’s software up to date. Updates often contain bug fixes and improvements that can prevent software-related issues.
- Use Reliable Tools and Software
When using any tools or software on your device, ensure they’re trusted and well-reviewed. Unreliable tools can lead to unexpected problems.
- Avoid Unauthorized Modifications
Avoid messing with your device’s software beyond basic settings unless you’re a tech expert. Unauthorized modifications can lead to bricking.
- Keep Your Battery Charged
Ensure your device has enough battery power before initiating software updates or installations. Low battery during critical processes can lead to issues.
- Backup Regularly
Regularly back up your device’s data to avoid losing important information during a bricking incident.
- Use Official Firmware
If you’re ever reinstalling or updating your device’s software, always use official firmware provided by the manufacturer.
- Utilize Safe Mode for Troubleshooting
If your device starts acting strange, try booting it into safe mode. This helps you identify if a third-party app is causing issues.
- Seek Professional Help
If you’re unsure about a particular action, seek help from experts. Trying to fix complex issues yourself can worsen the situation.
By following these easy tips, you can keep your Motorola Moto E13 device running smoothly and avoid the hassle of dealing with a bricked device. Always remember, prevention is better than cure!
safe & secure
Conclusion
Encountering a bricked Motorola Moto E13 device can be a frustrating roadblock. However, there’s a silver lining – the power of an Android system repair software like Dr.Fone – System Repair (Android). This user-friendly tool acts as your device’s superhero, rescuing it from the clutches of bricking incidents.
So, whether your device is experiencing a soft brick or a hard brick, you now have the best tools and knowledge to overcome it. Dive into the Android system repair software world, explore your options, and bid farewell to brick. Welcome a revived, functioning Motorola Moto E13 device into your daily life.
Quick Fixes for Why Is My Motorola Moto E13 Black and White
Why is My Motorola Moto E13 in black and white? This sudden shift in display colors can be perplexing and impact user experience. This issue affects various devices, including Motorola Moto E13 and other Android models. The abrupt shift to monochrome can impact your daily use. It can make apps and content appear dull.
If you’re asking why is my Android phone in black and white, then you’re in luck. Dive into the article below to unravel the causes behind your phone’s black-and-white display. Discover insights on addressing this unexpected issue, enhancing your overall mobile experience.

Part 1. Phone Screen in Black and White? Easy Fixes for Android Devices
Discovering your Motorola Moto E13 going monochrome can be annoying. The section below answers the question: why did my Motorola Moto E13 phone go black and white? It involves a combination of software adjustments and careful troubleshooting. Follow the practical solutions below to restore vibrant colors to your device.

Accessibility Settings
Accidental activation of accessibility settings may turn your display monochromatic. The “Grayscale“ or “Color Inversion“ option in the Accessibility or Vision section of your phone’s settings might be enabled. It can cause a black-and-white display. Here’s the solution:
- Step 1: Open your phone’s settings. Navigate to the Accessibility or Vision section.

- Step 2: Disable the Grayscale or Color Inversion option.
App Conflicts
Certain third-party apps can cause conflicts, leading to a black-and-white display . Newly installed apps might be the culprit, affecting your device’s color settings. Some apps also have grayscale modes that can impact the overall display. Here’s how to fix it:
- Step 1: Identify and uninstall recently installed apps.
- Step 2: Check individual app settings for grayscale modes.
System Glitches
System glitches or software bugs can trigger display issues. It can result in a black-and-white screen. Outdated software versions may contain bugs affecting color output as well. Regularly checking for software updates can prevent or resolve such glitches. Here’s how.
- Step 1: Go to your phone’s settings. Check for software updates in the Software update or System update section.

- Step 2: Update your device if there is a software update available. Ensure your device is running the latest software version.
Battery Saving Modes
Battery-saving modes can also alter display settings to conserve energy. It can sometimes result in a black-and-white screen. These modes limit power consumption by reducing color output. Reviewing and adjusting these settings can restore the normal color display. Follow the steps below.
- Step 1: Open your Motorola Moto E13’s Settings. Navigate to the Battery or Battery & Performance section.

- Step 2: Check and adjust battery-saving settings, including toggling power-saving modes on or off.
Hardware Issues
In rare cases, hardware issues may cause a black-and-white display. Physical damage, loose connectors, or problems with the display hardware can impact color reproduction. Identifying and addressing these hardware issues may be crucial for resolving the problem. Here’s what you should do.
- Step 1: Check for physical damage, loose connectors, or display hardware issues.

- Step 2: Seek professional assistance or contact the Motorola Moto E13 device manufacturer if hardware problems are suspected.
Consider a reliable third-party tool if your phone persists in black and white despite troubleshooting attempts. Tools such as Dr.Fone System Repair Android offer advanced solutions for complex system issues. They ensure your phone regains its vibrant display without a hitch.
Part 2. Using a Dedicated Tool: Dr.Fone for Fixing Black and White Display Problems
Dr.Fone is a reliable solution for addressing black-and-white display issues on Android devices. For a stress-free repair experience, follow these simple steps using Dr.Fone - System Repair (Android).
![]()
Dr.Fone - System Repair (Android)
Repair Android System Errors without Any Trouble.
- Fix your Android to normal, no skills required.
- Fix various Android system issues, stuck in boot loop , black screen , or won’t turn on , looping on start, etc.
- The high success rate in resolving Android system issues.
- Compatible with a wide range of Android devices and OS versions
- User-friendly interface with easy-to-follow steps.
3981454 people have downloaded it
- Step 1: Download and install Dr.Fone. Launch the program and click on System Repair on the main window. Connect your Motorola Moto E13 to the computer using the correct cable. Choose Android among the options.
safe & secure
3,601,336 people have downloaded it
- Step 2: Provide accurate device information, including brand, name, model, country/region, and carrier details. Confirm the warning and click Next.
- Step 3: Follow the on-screen instructions and wait for the program to download the firmware. Once downloaded and verified, Dr.Fone automatically initiates the repair process on your Motorola Moto E13.

- Step 4: After a while, your Motorola Moto E13 will have all system issues fixed. Click Done to complete the process or choose Try again if the problem persists, allowing you to repeat the steps.

Note
It’s highly recommended to back up your Android data before using Dr.Fone for repair.
How Dr.Fone Can Help You Beyond Display Issues
Beyond resolving black-and-white display problems, Dr.Fone serves as a comprehensive tool for all Android issues. The platform can enhance your device functionality.
Key Features
Here are key features that make Dr.Fone an invaluable resource:
- Fix All Kinds of Android Problems
Dr.Fone is designed to address a wide range of Android issues. These include black screens, malfunctioning Play Store, app crashes, boot loops , and bricked Android devices . Its versatility makes it a go-to solution for diverse system challenges.
- Wide Device Compatibility
With support for over 1000 Android models, Dr.Fone ensures compatibility with a vast array of devices. The platform is versatile and a widely applicable tool for Android users.
- High Success Rate
Dr.Fone boasts a high success rate in resolving Android issues. It provides users with confidence in its effectiveness and reliability.
Additional Functionalities
Below are additional functionalities of Dr.Fone that support your device to keep it in top shape.
- **Phone Manager.**Fone acts as a comprehensive phone manager. It allows you to transfer contacts, SMS, photos, videos, and more between your Motorola Moto E13 and computer. The feature simplifies data management and ensures seamless organization.
- Phone Backup. The tool enables selective backup of Android data on a computer. It provides you with the flexibility to safeguard essential information. The selective backup feature ensures efficient use of storage and allows for easy restoration when needed.
- **Screen Unlock Without Losing Data.**Fone offers a secure way to unlock the screen of Android devices without losing data. You can regain access to your devices without compromising valuable data, whether due to forgotten passwords, pattern locks, or PINs.
Part 3. Tips for Maintaining Your Phone Display Brilliance
Maintaining a vibrant phone display enhances user experience and ensures optimal visual clarity. Follow these tips to keep your phone’s display at its best:

Adjust Brightness Mindfully
Optimize brightness settings based on ambient lighting. Avoid excessively high brightness levels, which can strain your eyes and impact battery life.
- Update Regularly
Keep your phone’s software up-to-date to benefit from performance enhancements, bug fixes, and display optimizations provided by system updates.
- Be Mindful of Background Apps
Close unused background apps to free up system resources and prevent unnecessary strain on your phone’s display and overall performance.
- Use Static Wallpapers
Dynamic wallpapers and live backgrounds consume more power. Opt for static wallpapers to reduce battery drain and maintain consistent display performance.
- Avoid Extreme Temperatures
Exposure to extreme hot and cold temperatures can affect your phone’s display and overall performance. Store your device in a moderate environment.
- Implement Screen Timeout
Set a screen timeout to turn off the display when not in use automatically. This conserves battery life and prevents unnecessary wear on the screen.
- Clean Your Screen Regularly
Fingerprints, dust, and smudges can affect display clarity. Clean your screen regularly with a microfiber cloth to ensure a crisp and vibrant view.
- Secure Your Phone
Implement security measures to prevent unauthorized access. This protects your data and ensures the display remains secure and untouched.
- Enable Night Mode
Many phones offer a night mode that reduces blue light emission. It promotes better sleep and reduces eye strain, especially during nighttime use.
- Implement App-Specific Settings
Some apps have specific display settings. Explore and adjust these settings within individual apps to enhance your visual experience and reduce strain.
Conclusion
The guide highlights the “Why is My Motorola Moto E13 black and white“ query. It offers practical solutions for Android and Motorola Moto E13 users. By addressing common issues such as accessibility settings, app conflicts, and system glitches, you can restore their vibrant displays. Maintaining your phone display involves mindful practices, from adjusting brightness to regular updates.
The guide provided solutions for display issues and showcased the versatility of Dr.Fone System Repair Android. It’s a holistic solution for users seeking a seamless and reliable Android experience, addressing diverse concerns with precision and efficiency.
Android Safe Mode - How to Turn off Safe Mode on Motorola Moto E13?
Safe mode on Android is very useful to get rid of dangerous apps and malware. This allows the user to perform a uninstall of the crashed or malicious apps by putting safe mode on Android. Now the question is how to remove safe mode? In this article, we have discussed in detail how to get out of safe mode and also discussed some frequently asked questions. Keep reading this article.
Part 1: How to turn off safe mode on Android?
This is very important to turn off the safe mode after you put the safe mode on Android. Your mobile performance is limited in this mode. So you have to turn off safe mode. For doing this, there are some methods. Try to apply them one by one. If you succeed, stop there. Else go to the next method.
Method 1: Restarting the Motorola Moto E13 device
This is the easiest method to turn off the safe mode in Android. To use this method, follow the steps below.
Step 1 – Tap and hold the power button of your Motorola Moto E13.
Step 2 – You could find the option “Restart”. Tap on it. (If you have only one option, move to the step no 2)
Step 3 – Now, your phone will boot up in some time and you can see the Motorola Moto E13 device is no more on safe mode.

This method, if goes well, will turn off safe mode in Android from your device. IF not, move to the next method instead.
Method 2: Do a soft reset:
The soft reset is very easy to perform. It won’t delete any of your personal files etc. Besides, it clears all the temp files and unnecessary data and recent apps so that you get a healthy device. This method is very good for turning off Safe mode on Android.
Step 1 – Tap and hold the power button.
Step 2 – Now, select “Power off” from the given option. This will make your device off.
Step 3 – Wait a few seconds and then turn it on again.
This time you can see your phone is no more in safe mode. Also, your junk files have been also removed. If you still find the Motorola Moto E13 device is the safe mode, follow the next method.
Method 3: Break all power
This method is sometimes very helpful to turn off safe mode on android by disconnecting all the power as well as resetting the SIM card.
Step 1 – Take the back cover off from the Motorola Moto E13 device and remove the battery. (Not all devices will give you this facility)
Step 2 – Take out the SIM card.
Step 3 – Reinsert the SIM card and insert the battery again.
Step 4 – Turn the Motorola Moto E13 device on by tapping and holding the power button.
Now, you can see your device is out of safe mode. If you still find your device in Safe mode, see the next method.
Method 4: Wipe the cache of the Motorola Moto E13 device.
The cache of the Motorola Moto E13 device sometimes creates an obstacle in overcoming the safe mode on Android. To solve this issue, follow the steps below.
Step 1 – Turn on your device in safe mode. It can generally be done by tapping the home, power, and volume up button on Android device. If this combination is not working for you, search the internet with your device model number.

Step 2 – Now you can find the recovery mode screen. Navigate to the “Wipe cache” option with the volume up and down button and select the option by tapping the power button.

Step 3 – Now follow on-screen instruction and your device will be rebooted.
After successful completion of this method, your device should no longer be in safe mode. If the problem still persists, the only solution is to do a factory reset. This will erase all the data from your device. So take backup of your internal storage.
Method 5: Factory data reset
To factory data reset, you have to follow the below steps.
Step 1 – Enter in the recovery mode by following the steps mentioned earlier.
Step 2 – Now select “Factory data reset” from the given options.

Step 3 – Now, follow the on-screen instructions and your device will be factory reset.
After this method, you can successfully get rid of the safe mode on Android. Restore your data from the backup you created.
Watch the video below to turn off safe mode on your phone:
Part 2: How to put the phone in safe mode?
If some apps or programs create a problem on your device, the solution is safe mode. Safe mode allows you to uninstall the app or the program out of your device safely. So, safe mode on Android is quite useful sometimes. Let’s have a look at how to turn on safe mode in Android.
Before this, remember to take a backup of your Motorola Moto E13. We recommend you to use the Dr.Fone - Phone Backup (Android). This tool is the best in its class to provide users with a very easy-to-use user interface yet powerful solution.
Dr.Fone - Phone Backup (Android)_
Flexibly Backup and Restore Android Data
- Selectively backup Android data to the computer with one click.
- Preview and restore the backup to any Android devices.
- Supports 8000+ Android devices.
- There is no data lost during backup, export, or restore.
Always remember to use this tool before you enter in the safe mode as you never know what will happen next and you might end up with factory resetting. This, as the result, will erase all your valuable data. So always perform backup data before you proceed.
To enter the safe mode, follow the instructions below.
Step 1 – First of all, long press the power button and let the Power options appear.

Step 2 – Now, long press on the “Power off” option. This will instantly ask you if you want to reboot into safe mode. Select the option and your device will reboot in safe mode.

If you are using Android version 4.2 or earlier, turn off the Motorola Moto E13 device and turn it on the back by tapping the power button. When the logo appears, tap and hold the volume down button. This will allow the Motorola Moto E13 device to boot in safe mode.
Follow these steps carefully and now you can see a “Safe Mode” written at the corner of your device. This will confirm that you have successfully entered in Safe mode on Android.
Part 3: Safe mode on Android FAQs
In this section, we’ll discuss some frequently asked questions about the safe mode. Some users have many questions regarding the safe mode. Here we’ll try to cover some of them.
1. Why is My Motorola Moto E13 on safe mode?
This is a very common question around the world. For many Android device users, it’s quite common to see your phone in safe mode suddenly. Android is a secure platform and if your device sees any threat from your recently installed apps or any programs that want to harm your device; it would go into safe mode automatically. Sometimes, you might accidentally perform the steps discussed in part 2 and boot your device in safe mode.
2. Safe mode won’t turn off on My Motorola Moto E13
For the solution to remove safe mode from your device you must follow the step-by-step methods as mentioned in part 1. This will surely take your device out of the safe mode.
The safe mode is a very useful program for any Android device. But it limits the programs of Android and you must remove safe mode after uninstalling the harmful app. This article showed you how to turn off safe mode easily.
Also read:
- [New] 2024 Approved The Ultimate Guide to ScreenFlow Pro's Mac Edition
- [New] In 2024, Securely Connect A Step-by-Step Guide to Discord Calls
- [Updated] In 2024, Top 8 Online Photo Montage Maker
- [Updated] Transform Your IGTV Backgrounds with Style for 2024
- 11 Ways to Fix it When My Xiaomi Redmi A2 Wont Charge | Dr.fone
- 2024 Approved Techniques to Increase YouTube Video Size
- 6 Fixes to Unfortunately WhatsApp has stopped Error Popups On Infinix Hot 40 Pro | Dr.fone
- 7 Solutions to Fix Chrome Crashes or Wont Open on Oppo A56s 5G | Dr.fone
- 8 Quick Fixes Unfortunately, Snapchat has Stopped on Infinix GT 10 Pro | Dr.fone
- Fixes for Apps Keep Crashing on Realme C67 5G | Dr.fone
- Fixing Persistent Pandora Crashes on Vivo V29e | Dr.fone
- Optimize Your SteelSeries Keyboard with Freshly Updated SteelEngine Drivers
- Realme V30T Camera Not Working Unexpected Error? Fix It Now | Dr.fone
- Stop USB Error Messages From Popping Up: A Step-by-Step Fixing Guide
- Stuck at Android System Recovery Of Vivo Y56 5G ? Fix It Easily | Dr.fone
- Tech Insight: Navigating and Utilizing the Features on the iPhone 15 Pro
- What to Do if Google Play Services Keeps Stopping on OnePlus Ace 2 | Dr.fone
- Why Is My Infinix Smart 8 Plus Offline? Troubleshooting Guide | Dr.fone
- 무료 강화: 오피니 WMF 파일을 WAV로 스타트-アップ 사양해주세요!
- Title: Top 4 Android System Repair Software for Motorola Moto E13 Bricked Devices | Dr.fone
- Author: Ariadne
- Created at : 2025-02-06 16:23:02
- Updated at : 2025-02-08 17:09:20
- Link: https://howto.techidaily.com/top-4-android-system-repair-software-for-motorola-moto-e13-bricked-devices-drfone-by-drfone-fix-android-problems-fix-android-problems/
- License: This work is licensed under CC BY-NC-SA 4.0.