
Why Your Nubia Red Magic 8S Pro+ Screen Might be Unresponsive and How to Fix It | Dr.fone
Why Your Nubia Red Magic 8S Pro+ Screen Might be Unresponsive and How to Fix It
This article aims to provide practical solutions for troubleshooting an unresponsive Nubia Red Magic 8S Pro+ screen. Whether you’re facing a software glitch or hardware damage, this guide will offer useful tips and tricks to help you resolve the issue and get your device back up and running smoothly.
5 Solutions to Solve Nubia Red Magic 8S Pro+ Screen Unresponsive Issues
An unresponsive Nubia Red Magic 8S Pro+ screen can be frustrating, but several potential solutions can help. This article will explore five methods for troubleshooting an unresponsive Nubia Red Magic 8S Pro+ screen. From force restarting your device to contacting customer service, we’ll cover everything you need to know to get your device back up and running.
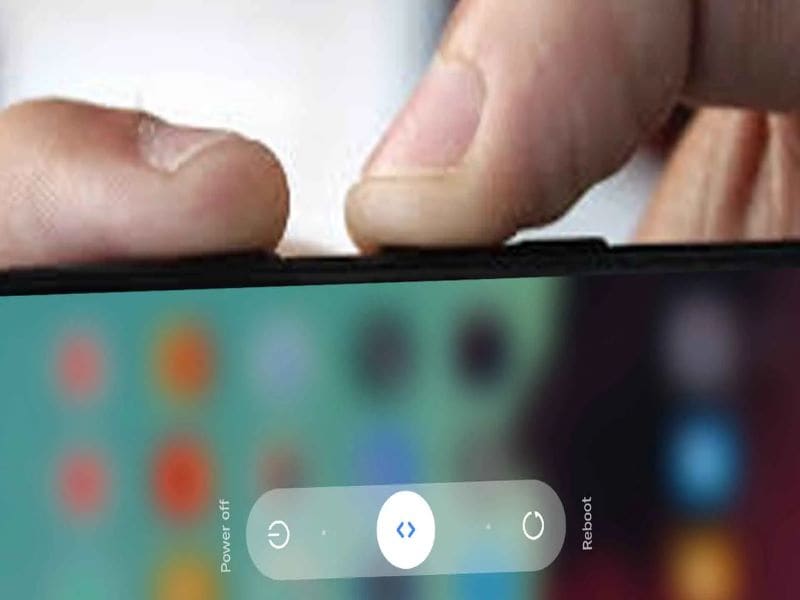
1. Force Restart

If your Nubia Red Magic 8S Pro+ screen is unresponsive, the first thing to try is a force restart. This can help refresh the system and clear any temporary files causing the issue.
Step 1. Press and hold the power button on your Nubia Red Magic 8S Pro+ device.
Step 2. When the power options appear, tap “Restart.”
Step 3. Hold the power button if the screen is completely unresponsive until the Nubia Red Magic 8S Pro+ device shuts down. Then, press and hold the power button to turn the Nubia Red Magic 8S Pro+ device back on.
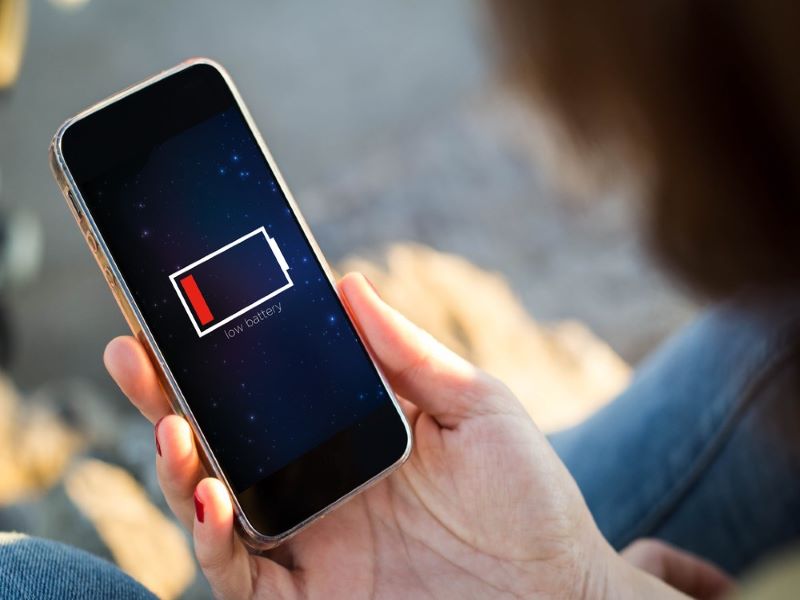
2. Drain the Battery Completely
If force restarting doesn’t work, let the battery drain completely. This can help reset the Nubia Red Magic 8S Pro+ device and clear any temporary files or processes causing the issue.
Step 1. Leave your Nubia Red Magic 8S Pro+ device on until the battery completely drains and the Nubia Red Magic 8S Pro+ device shuts down.
Step 2. Connect your device to a power source and turn it back on.
3. Check for Software Updates

Sometimes, an unresponsive Nubia Red Magic 8S Pro+ screen can be caused by outdated software. Checking for software updates ensures your device runs the latest and most stable operating system version.
Step 1. Go to “Settings“ on your Nubia Red Magic 8S Pro+ device.
Step 2. Scroll down and tap “Software Updates.”
Step 3. If an update is available, tap “Download and Install.”
4. Using Dr. Fone Repair

Dr. Fone Repair is a professional tool that can help fix a wide range of software issues on your Nubia Red Magic 8S Pro+ device. Dr. Fone Repair can be a good option to protect your data and files while troubleshooting an unresponsive Nubia Red Magic 8S Pro+ screen.
 safe & secure
Step 1. Download and install Dr. Fone Repair software on your computer.
Step 2. Connect your Nubia Red Magic 8S Pro+ phone to your computer using a USB cable.
Step 3. Launch Dr. Fone Repair and select the “System Repair“ option.
Step 4. Choose the “Android Repair“ option from the available choices.
Step 5. Click on “Start“ to begin the repair process.
Step 6. Provide the necessary device information on the screen, including your name and model.
Step 7. Click “Next“ to proceed to the next step.
Step 8. Follow the on-screen instructions to complete the repair process for your Nubia Red Magic 8S Pro+ phone’s touchscreen.
5. Contact Customer Service
If none of the above solutions work, it may be time to contact Nubia Red Magic 8S Pro+ customer service. They can provide additional support and help troubleshoot the issue.
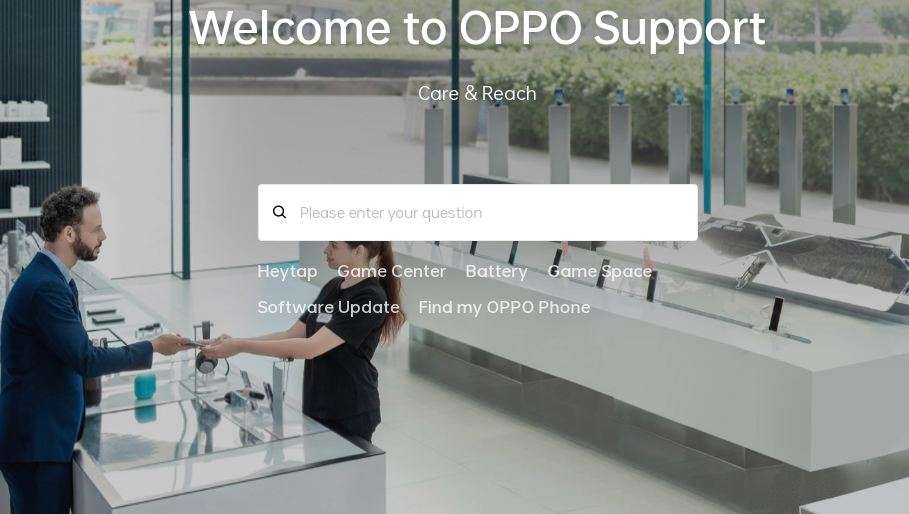
Step 1. Go to the Nubia Red Magic 8S Pro+ website and navigate to the “Support“ section.
Step 2. Select your device model and click “Contact Us.”
Step 3. Choose your preferred method of contact, such as phone or email, and describe the issue you’re experiencing.
Common Causes of Nubia Red Magic 8S Pro+ Screen Unresponsiveness
While Nubia Red Magic 8S Pro+ devices offer reliable performance, users may encounter situations where the screen becomes unresponsive or stuck on boot. Soft-bricked software or corrupted firmware can cause an Nubia Red Magic 8S Pro+ device to become unresponsive, including the screen stuck on the boot. This can happen to various models, such as the Nubia Red Magic 8S Pro+, A37, A5, and A5s. Software updates and resets can help fix these issues.
Over time, the touch screen of an Nubia Red Magic 8S Pro+ device may become unresponsive due to wear and tear. This can happen to models like the Nubia Red Magic 8S Pro+ F1s and F3. In this case, replacing the touch screen or seeking professional assistance may be necessary.
Dropping or impacting an Nubia Red Magic 8S Pro+ device can cause physical damage to the touch screen, resulting in unresponsiveness. This can happen to various models like the Nubia Red Magic 8S Pro+ Reno and Find X. In some cases, the damage may be repairable, but the screen replacement or the Nubia Red Magic 8S Pro+ device itself may be necessary in severe cases. Protecting the Nubia Red Magic 8S Pro+ device with a case and handling it carefully to prevent physical damage is important.
While Nubia Red Magic 8S Pro+ devices are generally reliable, various factors can contribute to screen unresponsiveness. Users can effectively troubleshoot and resolve issues by identifying these potential causes and seeking appropriate solutions.
How to Avoid Nubia Red Magic 8S Pro+ Screen Unresponsiveness Issue
One of the most effective ways to prevent Nubia Red Magic 8S Pro+ Screen unresponsiveness is by keeping the Nubia Red Magic 8S Pro+ device software up-to-date. Regularly checking for system updates and installing them promptly can prevent software issues and potential bugs that may cause unresponsiveness. Additionally, updating device apps can help prevent conflicts that affect the touch screen’s functionality.
Another way to avoid Nubia Red Magic 8S Pro+ Screen unresponsiveness is by protecting the Nubia Red Magic 8S Pro+ device from physical damage. Using a protective case or screen protector can help prevent cracks or scratches on the screen that can lead to unresponsiveness. Avoiding impacts or drops can also reduce the risk of physical damage to the touch screen.
Installing apps from unknown sources or suspicious websites can expose the Nubia Red Magic 8S Pro+ device to malware and viruses, which can cause unresponsiveness and other issues. To avoid this, it’s recommended to only install apps from trusted sources such as the Google Play Store or the Nubia Red Magic 8S Pro+ App Store.
Using a reliable tool like Dr. Fone can help prevent Nubia Red Magic 8S Pro+ Screen unresponsiveness by allowing you to manage and repair your device’s software and data. With features such as System Repair and Data Backup & Restore, you can quickly diagnose and fix software issues that may cause unresponsiveness and safely back up important data to prevent loss in case of device damage or malfunction.
Conclusion
Nubia Red Magic 8S Pro+ Screen unresponsiveness can be a frustrating issue to deal with, but there are solutions available. Force restarting the Nubia Red Magic 8S Pro+ device, checking for software updates, using Dr. Fone Repair, and contacting customer service are all effective ways to solve the problem. However, it’s also important to understand the possible causes of the issue, such as soft-bricking or equipment wearing out, and take preventative measures, such as updating your phone on time and avoiding malware. These tips can help prevent Nubia Red Magic 8S Pro+ Screen unresponsiveness and keep your device running smoothly.
safe & secure
Spotify Keeps Crashing: A Complete List of Fixes You Can Use on Nubia Red Magic 8S Pro+

Does your Spotify keep crashing? You’re not alone. This problem is widespread and can happen to anyone. Fortunately, there are ways to rectify it quickly and easily. We’ve prepared a guide to fixing your Spotify crashing problem.
In our guide, you’ll find out why your Spotify keeps crashing. Moreover, you’ll get a list of fixes for your Spotify closing problem and detailed instructions. Once you’ve read our guide, you’ll successfully solve the problem of Spotify crashing on Android.
Part 1. Why Spotify Keeps Crashing

Some people have encountered a problem with their Spotify accounts. Spotify can sometimes keep crashing and closing due to several reasons. For example, it can happen due to your phone not being compatible with the app. This can happen if your operating system isn’t updated to the newest version.
Another reason the Spotify app keeps crashing could be an antivirus or a VPN blocking Spotify from working. Moreover, your device might be out of storage space, causing your phone to slow down and crash apps.
Several other reasons for this problem include network issues, a weak Wi-Fi signal, or the battery saving mode. Furthermore, your apps and files might be corrupted, or an app on your phone might block Spotify from working correctly.
Part 2. Spotify Keeps Crashing: Best Fixes
As you can see, there are numerous reasons for your Spotify crashing. Fortunately, all of them are easy fixes, and there’s no need to worry. We’ve prepared a list of 11 ways to fix your Spotify. With these fixes and detailed instructions, you’ll be able to eliminate your Spotify problem with ease.
1. Fix the Spotify Closing Issue by Repairing Your System
The reason for your Spotify crashing may be more significant than just a bug. Your device system might be behind it. If that’s the case, you might need to repair your system before trying to fix Spotify.
If you want to repair your mobile device’s system quickly and efficiently, try Wondershare Dr.Fone.
Wondershare Dr.Fone is an app that gives you complete control over your phone. You can manage it, back it up, recover files, and repair your system. The system repair option will fix your Android in just a few clicks and allow you to use Spotify freely. The steps go as follows:
- Step 1: Install and open Wondershare Dr.Fone on your computer and connect your Android.
- Step 2: Go to the Toolbox section and select System Repair.

- Step 3: Choose the Android

- Step 4: See which Android errors Wondershare Dr.Fone can fix and click Start.
- Step 5: Select the **Brand,**Name, Model, Country, and Carrier In the Carrier section, choose OPEN if your device is unlocked.

- Step 6: Tick the “I agree with the warning, and I am ready to proceed”checkbox and click Next.
- Step 7: Put your Android in Download Mode. You can find the steps below these instructions.
- Step 8: The program will automatically download once you put the phone in Download Mode.

- Step 9: Once the firmware downloads, click Fix Nowto install it on your Android.

- Step 10: Type “000000” in the dialog box and click Confirm.

- Step 11: That will start the system reparation, which you can follow on the screen.

- Step 12: Once it finishes, click Doneto complete the system repair.

There are two ways to enter Download Mode: one for Android devices with the Home button and another for those without it.
The steps for entering Download Mode on an Android phone with the Home button are as follows:

- Step 1: Turn off your phone.
- Step 2: Press and hold the Volume Down,Home, and Power buttons simultaneously.
- Step 3: Press the Volume Upbutton to enter Download Mode.
The steps for entering Download Mode on Android devices without the Home button are as follows:

- Step 1: Turn off your phone.
- Step 2: Press and hold the Volume Down, Bixby, andPower buttons simultaneously.
- Step 3: Press the Volume Upbutton to enter Download Mode.
2. Force-Close the App
You can force-close Spotify and open it again to make it work properly. That is an easy fix if your Spotify has developed a bug. If that is the case, follow the next steps:
- Step 1: Try opening Spotify.
- Step 2: If it’s not working, open App Switcher or Recent Apps. Different Android devices open it differently. Thus, you can swipe up from your Home screen, or if you have three buttons at the bottom, press Recent Apps.

- Step 3: Find Spotify in Recent Appsand click X or swipe up over it to force-close it.
- Step 4: Try opening Spotify again.
3. Re-Login to Your Spotify
The Spotify app may be working fine. Maybe you’re having problems with your Spotify account. If so, you can try logging out and logging in again to see if that works. That isn’t a big problem; sometimes Spotify accounts start bugging. You can re-login to your Spotify account by following these steps:
- Step 1: Open Spotify.
- Step 2: Tap Settingsin the upper right corner.

- Step 3: Scroll to the bottom of the settings and tap Log Out.

- Step 4: Tap Log In.

- Step 5: Enter your login credentials.
- Step 6: Tap Loginagain, and you’re in.

4. Restart Your Device
Another way to stop Spotify from crashing can be restarting your Android. The steps may vary slightly depending on the Nubia Red Magic 8S Pro+ device, but they’re mostly the same. Follow these steps to restart your device:
- Step 1: Press and hold the Power button(you must press and hold both the Power and Volume Up buttons on a newer Android device).
- Step 2: Tap Restart. That will restart your Android, and you can try opening Spotify again.

5. Set Up Your Time and Date
Another possible reason for your Spotify closing problem could be the incorrect time and date on your Android. That is also an easy fix; you must set it correctly and try opening the app again. Set up your time and date with these steps:
- Step 1: Open Settingson your Android.
- Step 2: Go to Systemor General Management (depending on your Android model).
- Step 3: Go to Date and Time.
- Step 4: Tap Set Dateand set the correct date.

- Step 5: Go to Set Timeand set the right time.

6. Update Your System Software
Your Spotify app might keep crashing because your system is outdated. Try updating it to the latest version to try and fix the crashing problem. The steps for the Android system update are as follows:
- Step 1: Open Settings.

- Step 2: Go to System or About Phone.

- Step 3: Select System Update.
- Step 4: If there’s an available update, tap

7. Update Your App
If your system is updated, then Spotify might need an update. The app might malfunction if you’re using an older version. Thus, updating the app might solve the Spotify crashing problem. You can update Spotify by following these steps:
- Step 1: Go to the Play Store.

- Step 2: Search and open Spotify in the Play Store.
- Step 3: Tap Update

8. Free up Storage
Spotify can start crashing if your Android’s storage space is at capacity. That can also cause other apps to crash, not only Spotify. Therefore, check the storage space and free up as much as possible. Follow these steps:
- Step 1: Open
- Step 2: Go to Device Maintenance > Storageor go directly to Storage.

- Step 3: Here, you can see how much of your storage space is available and what’s taking up the most space.

- Step 4: Then, you can go ahead and clear as much space as you can.
9. Reinstall Spotify
There’s another solution if the Spotify app keeps crashing. You can try uninstalling and reinstalling it again on your Android. That will reset the app and might solve your problem. Follow the next steps to reinstall Spotify:
- Step 1: Find the Spotify app on your Android.
- Step 2: Hold the app icon.
- Step 3: Then, press Uninstall.

- Step 4: Press OK.
- Step 5: Then, open the PlayStore and find Spotify.
- Step 6: Tap Installto reinstall the app again.

- Step 7: Once it installs, log in to test if it’s working.
10. Check if Spotify Is Down
If your Spotify keeps crashing and closing, it might not be your device’s problem. Sometimes, Spotify’s server can be down, and many people face the same issue. If that’s the case, you can check with your friends if their Spotify is working or check online if Spotify is down. To do that, follow these steps:
- Step 1: Open your web browser.
- Step 2: Type “Is Spotify down” in the search bar.

- Step 3: You’ll see several websites that check real-time app servers and if they’re down.

- Step 4: Go to one or two and see what they say. If Spotify is down, you’ll need to wait for them to fix the problem.
11. Clear the Cache
When using different apps and websites, your device caches data from those sources. Since there’s no need to pile up your Spotify cache, you can clear it. Follow these steps:
- Step 1: Open Settings.

- Step 2: Go to Apps.
- Step 3: Find Spotify and tap it.

- Step 4: Tap Storageor Storage usage.

- Step 5: Tap Clear Cache.

safe & secure
Conclusion
If your Spotify app keeps crashing, several reasons might be behind it. For instance, your storage space might be at capacity, your system might need an update, your phone might have a software bug, or the Spotify server might be down.
We’ve given you 11 solutions to fix the Spotify crashing problem. However, if your system needs repairing, you can try Wondershare Dr.Fone for quick and easy repair. This solution and all others will surely help you fix the crashing problem.
Nubia Red Magic 8S Pro+ Screen Unresponsive? Here’s How to Fix It
Nubia Red Magic 8S Pro+ phones have become increasingly popular due to their advanced features, sleek designs, and affordable prices. These phones offer many benefits, including high-quality cameras, long battery life, and fast processing speeds. However, sometimes users may encounter problems such as a Nubia Red Magic 8S Pro+ touch screen not working, which can be frustrating and difficult.
This article aims to provide solutions for Nubia Red Magic 8S Pro+ phone users experiencing screen unresponsiveness. We will explore various reasons this issue may occur and discuss step-by-step instructions for fixing the problem. So, if your Nubia Red Magic 8S Pro+ touchscreen is not working, don’t worry – we’ve got you covered!
What Causes A Nubia Red Magic 8S Pro+ Screen Unresponsive?
There are several reasons why a Nubia Red Magic 8S Pro+ phone’s screen may become unresponsive. Some common causes include software issues, hardware problems, or issues with the touchscreen itself. It’s essential to identify the root cause of the problem to fix it properly.
Below are some possible causes of Nubia Red Magic 8S Pro+ screen unresponsiveness, along with explanations of each.
Soft-bricked software: Soft-bricking refers to the state where the phone is stuck in an infinite boot loop or unable to boot. It can occur due to corrupt system files, outdated firmware, or unsuccessful updates. For example, some Nubia Red Magic 8S Pro+ Y2 and 5A users have reported their screens getting stuck on the boot logo after a software update, rendering the Nubia Red Magic 8S Pro+ device unusable.
Equipment is worn out: Hardware problems can also cause Nubia Red Magic 8S Pro+ screens to become unresponsive. It can be due to worn-out equipment, such as a damaged LCD screen, malfunctioning touch sensor, or loose ribbon cables. These issues can also occur in any Nubia Red Magic 8S Pro+ model, including the Y2 and 5A.
**Touchscreen problems:**Sometimes, the touchscreen itself can become unresponsive for various reasons. For instance, Nubia Red Magic 8S Pro+ Y2 and 5A users may face this issue if they have accidentally dropped their phone, exposed it to water, or used an incompatible screen protector. It can result in a damaged or malfunctioning touchscreen, making it difficult or impossible to operate the phone.
The Common Solutions To Solve A Nubia Red Magic 8S Pro+ Screen Unresponsive
In the previous section, we identified the possible causes of Nubia Red Magic 8S Pro+ screen unresponsiveness, including soft-bricked software, hardware problems, and touchscreen issues. While the underlying reasons for screen unresponsiveness can be varied and complex, some common solutions can help resolve the issue. Here are three of the most common solutions to address tablet screen unresponsiveness, no matter the Nubia Red Magic 8S Pro+ model.
1. Restart The Device
Restarting the phone is typically the initial solution that comes to mind when we encounter the Nubia Red Magic 8S Pro+ black screen problem. It’s a simple and widely used method to address the issue, as the black screen problem could be caused by a software glitch, which can often be resolved by freeing up the phone’s memory.
It is the most commonly used method to fix Nubia Red Magic 8S Pro+’s touch screen and power button issues, such as unresponsiveness. By restarting the Nubia Red Magic 8S Pro+ device, background processes are disabled, and memory is freed up, allowing programs to run smoothly and potentially resolve the problem. To restart a Nubia Red Magic 8S Pro+ device, press the Power and Volume Up buttons simultaneously, and release the Power button once the Nubia Red Magic 8S Pro+logo appears.
2. Leave The Phone And Let The Battery Drain Completely
Sometimes, the tablet screen may become unresponsive due to a software issue preventing the Nubia Red Magic 8S Pro+ device from functioning correctly. Leaving the Nubia Red Magic 8S Pro+ device unused and draining the battery helps resolve these issues. After fully discharging the battery, the Nubia Red Magic 8S Pro+ device can be recharged and turned back on, potentially resolving the issue.
3. Contact Custom Service
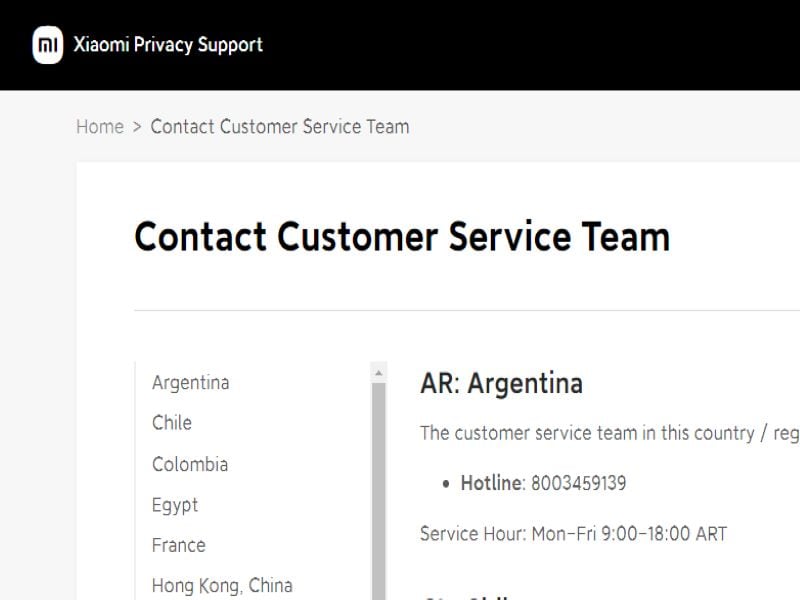
If restarting the Nubia Red Magic 8S Pro+ device or allowing the battery to drain doesn’t resolve the issue, seeking professional assistance is recommended. The manufacturer may provide additional troubleshooting steps or recommend sending the Nubia Red Magic 8S Pro+ device in for repair or replacement. It’s important to check the warranty before contacting customer service, which may affect repair or replacement options.
In addition to the common solutions we discussed earlier, some model-specific solutions can help resolve the screen unresponsiveness issue on Nubia Red Magic 8S Pro+ Y2 and Nubia Red Magic 8S Pro+ 5A.
4. Optimize Device Performance
One solution is to optimize the Nubia Red Magic 8S Pro+ device performance by clearing the cache, removing unwanted apps, and disabling unnecessary features. This method can help free up memory and resolve the issue.
You can clear your cached data using the default settings.
- Select Settings> Storage > Cached Data.
- To clear the cache, select Clear Cache.

5. Back Up And Factory Reset
Another solution is to back up the Nubia Red Magic 8S Pro+ device and perform a factory reset, which can help reset the Nubia Red Magic 8S Pro+ device to its original state and remove any software glitches that may be causing the screen unresponsiveness. The factory settings on your phone will restore any data saved by third-party applications and some of the phone’s settings when it was first built. Note that this method erases all data from the Nubia Red Magic 8S Pro+ device, so it should only be considered a last resort.
In the following steps, we will show you how to format the Nubia Red Magic 8S Pro+ Redmi 5A to erase all your data and restore it to its factory state.
- Open the Settings.
- Navigate to the Additional settings section of the Nubia Red Magic 8S Pro+ Redmi 5A settings.
- Please scroll down the screen until you reach the Backup & reset option, then click to access it.
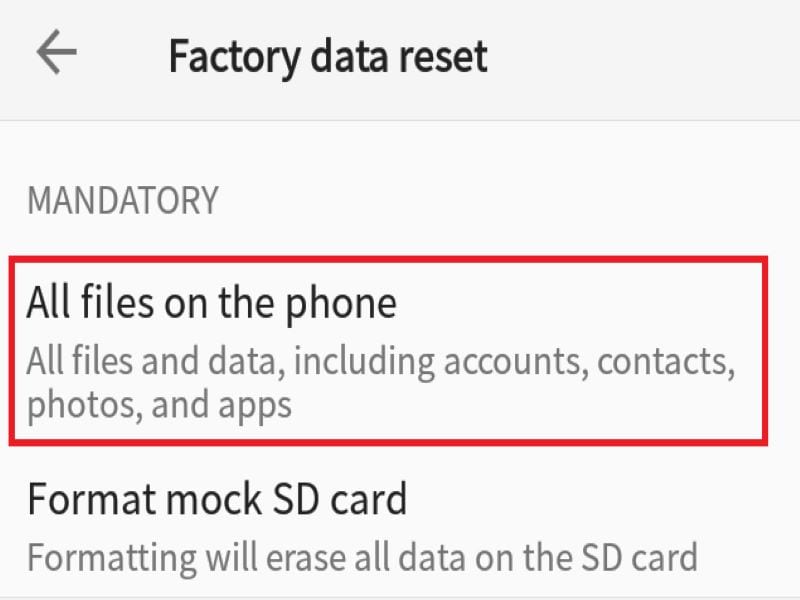
- ClickErase all data (factory reset) to restore the network settings and applications, or completely reset the Nubia Red Magic 8S Pro+ Redmi 5A.
- Select All files on the phoneto make a complete format of the Nubia Red Magic 8S Pro+ Redmi 5A.
6. Using Dr. Fone Repair
If none of the above solutions worked, you can try using Dr. Fone Repair. This software is designed to fix various software issues on Android phones, including Nubia Red Magic 8S Pro+ devices. It can fix issues such as screen stuck on boot, black screen, and other software-related problems. Dr. Fone Repair is easy to use and can protect your data and files on your phone.
Here’s how to fix repair screen unresponsiveness or any software-related issues on Nubia Red Magic 8S Pro+ Y2 and Nubia Red Magic 8S Pro+ 5A using Dr. Fone Repair:
- Begin by installing and opening Dr.Foneon your PC.
- Once opened, select the ‘System Repair’ option and connect your Android smartphone to your PC via USB cable.
- On the next screen, choose “Android****Repair“ from the list of available options.
- Click on the “Start“ button to initiate the repair process.
- You will then be prompted to enter the required device information such as the Nubia Red Magic 8S Pro+ device name, model number, and firmware version.
- Once you have entered the necessary information, click on the ‘Next’ button to proceed.
- Follow the on-screen instructions carefully to repair your Nubia Red Magic 8S Pro+.

How To Avoid A Nubia Red Magic 8S Pro+ Screen Unresponsive?
To avoid facing a Nubia Red Magic 8S Pro+ screen unresponsive issue, users can take several preventative measures. One important step is to update the Nubia Red Magic 8S Pro+ phone regularly to ensure the software is up to date and all bugs and glitches are fixed. Users can also use tools like Dr. Fone to regularly manage and repair data, including clearing cache and removing unwanted apps. It is also important to use quality charging cables and avoid exposing the Nubia Red Magic 8S Pro+ device to extreme temperatures or humidity, which can damage the internal components and potentially cause screen unresponsiveness. Finally, users can avoid dropping or mishandling the Nubia Red Magic 8S Pro+ device, leading to physical damage and causing the screen to become unresponsive. Users can help prevent screen unresponsiveness by taking these steps and ensuring their Nubia Red Magic 8S Pro+ device runs smoothly and reliably.
safe & secure
Conclusion
Encountering a Nubia Red Magic 8S Pro+ screen unresponsive issue can be a common problem for some Nubia Red Magic 8S Pro+ phone users. However, with the solutions we have provided in this article, you can effectively solve the problem and get your phone back up and running in no time. It’s important to remember to regularly back up your data and take preventative measures, such as avoiding harmful malware and keeping your phone updated, to avoid experiencing this issue in the future.
By using reliable software, like Dr.Fone Repair, you can ensure that your Nubia Red Magic 8S Pro+ phone is well-maintained and operating smoothly. With these solutions and tips, you can enjoy the benefits of your Nubia Red Magic 8S Pro+ phone without any interruptions.
Also read:
- [New] Best GoPro Helmet Mounts and How to Use Them
- [Updated] Digital Splendor on YouTube The Hue Harmonization Way
- 11 Ways to Fix it When My Oppo Reno 8T 5G Wont Charge | Dr.fone
- 2024 Approved Secure MP4 Conversion at Your Fingertits – FB Only
- 4 Ways to Fix Android Blue Screen of Death On Infinix Hot 30i | Dr.fone
- 7 Fixes for Unfortunately, Phone Has Stopped on OnePlus Nord CE 3 Lite 5G | Dr.fone
- 8 Solutions to Solve YouTube App Crashing on Honor 90 Lite | Dr.fone
- 8 Solutions to Solve YouTube App Crashing on Vivo Y17s | Dr.fone
- 9 Solutions to Fix Process System Isnt Responding Error on Nubia Z50 Ultra | Dr.fone
- 9 Solutions to Fix Tecno Spark 20C System Crash Issue | Dr.fone
- Apple Recalls Latest iOS Test Version as Users Report iPhone Breakdowns | Exclusive Coverage by ZDNet
- Discover How Copilot Boosts Your Experience with FREE Access to GPT-4 Turbo
- FB Streamlines Your Conversations: Upgraded Messaging on Instagram & Messenger Awaits
- Gmail Not Working on Poco C55 7 Common Problems & Fixes | Dr.fone
- How to Fix the Windows 0X8007007E Error Code
- Samsung Galaxy Z Fold 5 Messages Recovery - Recover Deleted Messages from Samsung Galaxy Z Fold 5
- Top 10 GoPro Cases Insight for Adventurers for 2024
- Title: Why Your Nubia Red Magic 8S Pro+ Screen Might be Unresponsive and How to Fix It | Dr.fone
- Author: Ariadne
- Created at : 2024-11-18 05:37:37
- Updated at : 2024-11-21 22:57:25
- Link: https://howto.techidaily.com/why-your-nubia-red-magic-8s-proplus-screen-might-be-unresponsive-and-how-to-fix-it-drfone-by-drfone-fix-android-problems-fix-android-problems/
- License: This work is licensed under CC BY-NC-SA 4.0.